 I have three 24 x 36 cork boards in my home office, devoted to helping me organize my garden. They are filled with seasonal planting guides for Zone 7, my own garden plans for seasonal and succession plantings, companion planting charts and the listings of vegetables by family that make sense of them.Interspersed between these work-a-day printouts are some of my favorite images of the WWI National War Garden Commission (1910-1920) and WWII Victory Garden (1930-1950) posters. I have long been a fan of these nostalgic images for what they represented at the time and what they represent to me* today.The images, although quaint and nostalgic now, when they were produced were part of a bold initiative that is difficult to imagine ever repeating itself in the light of 21st century politics. The world leaders at that time asked of their people to be a little more self-sufficient for a while, to do a little more for themselves and consume less, not for any immediate personal benefit for those making the sacrifices of growing and preserving their own food, but for "the greater good". They also represent a generally accepted, society endorsed back to the land movement long before the Foxfire books of the 1970s solidified in the public mind that unless you are a farmer by trade, growing a significant portion of your own food is a hallmark of an alternative lifestyle.With the War Gardens of WWI and later the Victory Gardens of WWII, ordinary households economized during rationing. They grew, ate, canned and preserved some of their own produce to nourish their families and to help the war efforts by using less of the nation's production and transportation resources so those resources would be available elsewhere.It was a time of lofty and aspirational ideals and pulling together for a purpose larger than ourselves. Some of the growing ideas and solutions promulgated during that period, particularly of WWII were a mix of good and pretty bad, but the overall concept was a good one - a decentralized food system, self-sufficient citizens and a government system that supported the bootstraps mentality that has become a hallmark of those generations.
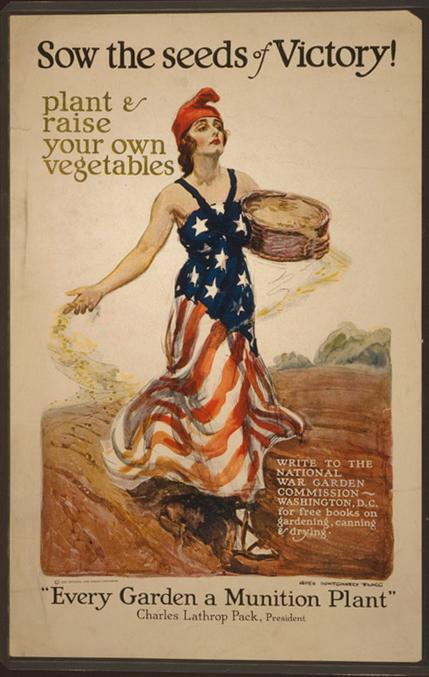 *Results may vary
Making Hay While The Sun Shines - Part 1
After three weeks of much longer than normal hours during the week and attending conferences on the weekends in service to my day job, I had a two whole days at home with my garden this weekend. I found it doing very well despite my glancing harvests and prunings, but also in need of some more thoughtful attention so I started on a prioritized list of what needed to be done...and then the doorbell rang. Earlier this year I had struck up a conversation about fig trees with one of my subdivision neighbors after he noticed my 2nd year trees that are a lot more potential than production even at this point. He had shared with me how productive his established tree was with quantities that sounded more fantasy than fact compared to the 25 or so figs I expected off of my 4 immature trees. He arrived at my door on Saturday morning with a bag full of figs, the third such of the morning he told me!Most of the figs were at the peak of ripeness, but a few were so soft that even the weight of figs on top of them in the bag distorted and split them. I popped the bag into the fridge to firm up the softest of them and stop the ripening of the freshest and went online to see what my options were.Canning jam and/or preserves was the resounding result, despite changing search terms several times and going 4 search results pages deep. I did not feel ready to do canning on my own and hadn't purchased a hot water bath canner yet, but there was this unexpected bounty to deal with...An hour and multiple recipes later, I was ready to make my first fig jam. The recipe was simple:8 cups quartered figs3.5 cups sugar3 TBS lemon juice
 It was an easy recipe and the figs smelled and tasted heavenly as they and the sugar slowly caramelized on my stove top. I was nervous about the canning part but made an emergency phone-a-friend to my canning mentor to ask a few questions and by the end was more focused on saving every drop of this delicious concoction than thinking of all the ways the canning portion might go wrong.
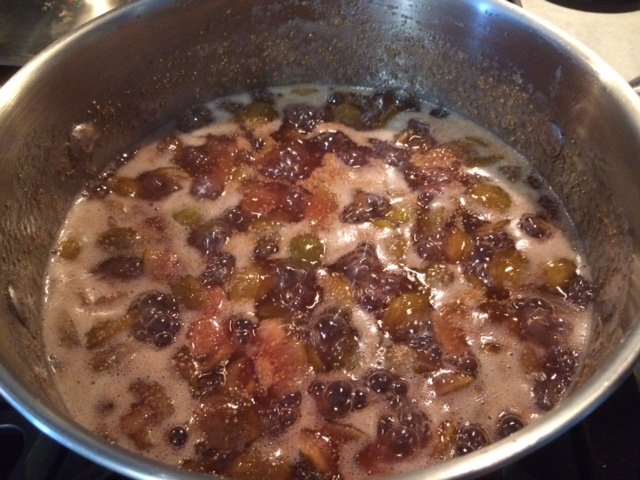 I ladled the preserved into 5 half-pint jars and prepared my first hot water bath.
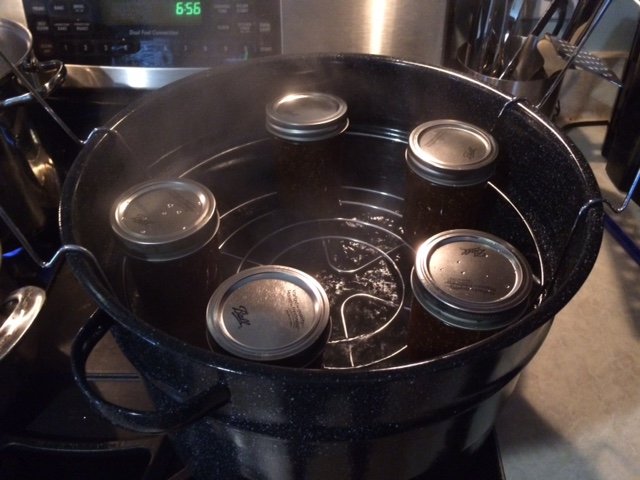 They cooked for 10 minutes in the hot water bath after it returned to a boil. I set the jars on cooking cooling racks to increase the air circulation and was pleased to hear my first *pop* of a sealing jar not long after.
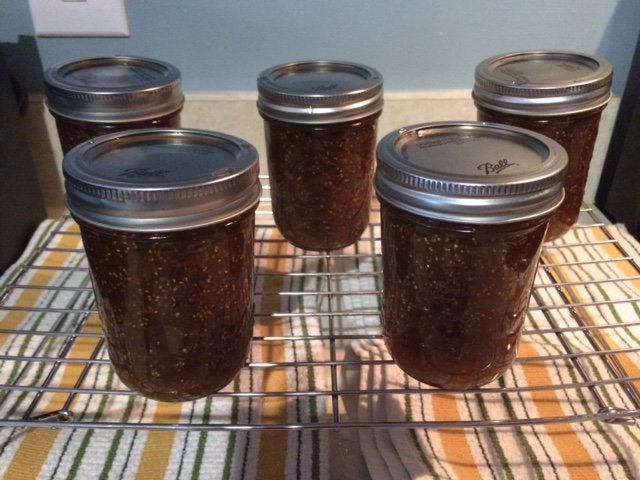 All 5 jars popped within 3o minutes of coming out of the bath and are now labeled and in my pantry.The title of this post is about doing what needs to be done when the opportunity exists - trying a new fig jam recipe and canning for the first time were not on my to-do list, but I couldn't let this unexpected windfall go from overripe to compost in my refrigerator without at least trying my hand at canning to preserve the bounty.As a postscript, I had enough jam for 5 3/4 jars and since the 6th jar did not meet the headspace requirements for the canning recipe, I sealed it the same as the others but put into the refrigerator immediately after it too popped. Tonight's desert was a french bread smothered in this homemade jam and it was wonderful!
Canning - Green Beans
 I received a wonderful offer today from a dear friend and colleague. A hands-on canning lesson with fresh Blue Lake bush beans from her husband's garden. The photo below captures about half of his very productive garden. He is growing okra, summer squash, beans, broccoli, tomatoes, eggplant, basil and I am sure I am missing at least a few more.
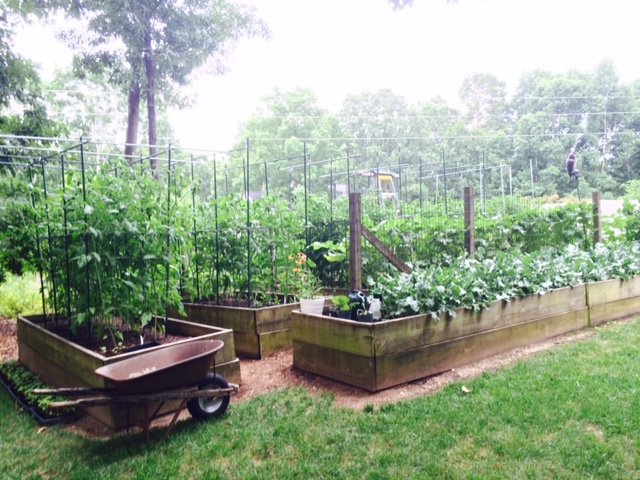 The Ball canning recipe book was open on the island and 6 quarts of beans were cleaned and snapped in a large bowl. We used a colander to submerge a portion of the beans into boiling water for 5 minutes.
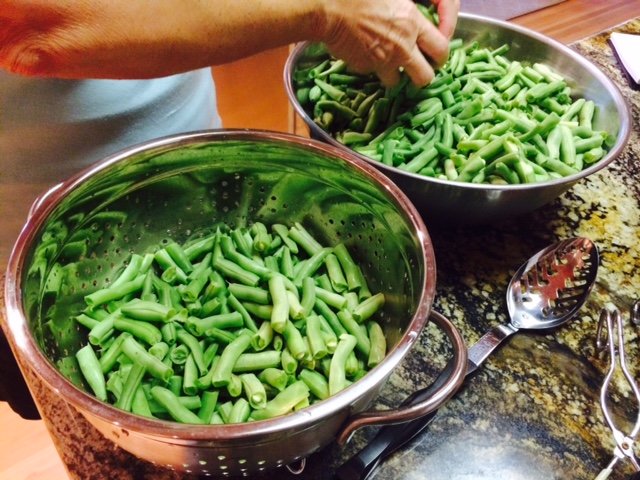 The 1 quart canning jars fresh out of a 180 degree hot water bath are started with 1 tsp. salt before being packed with freshly cooked beans to 1" from the top of the jar. The cooking liquid is then ladled in to the same 1" from the top. Long sticks are used to remove air bubbles by compressing the cooked beans inward from the jar and working all the way around it a couple of times.
 The liquid is topped off to 1" again and the neck of the jar cleaned to prepare it for being sealed.
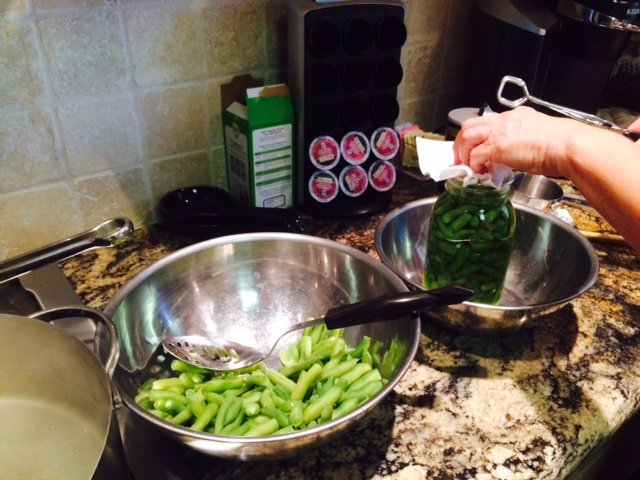 The hot lid is added fresh from the hot water bath (180 degrees) with tongs.
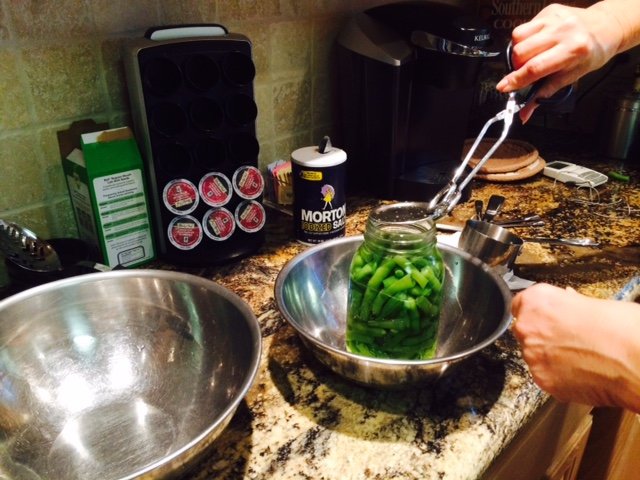 The lids are screwed on hand-tight and jars are packed into the pressure cooker.
 The recipe instructions for the pressure cooker are very specific. Eventually the pressure reaches 10 lbs and the beans are cooked another 25 minutes.
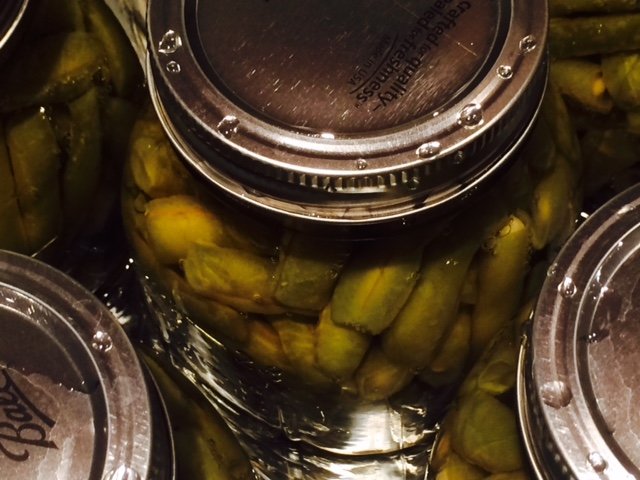
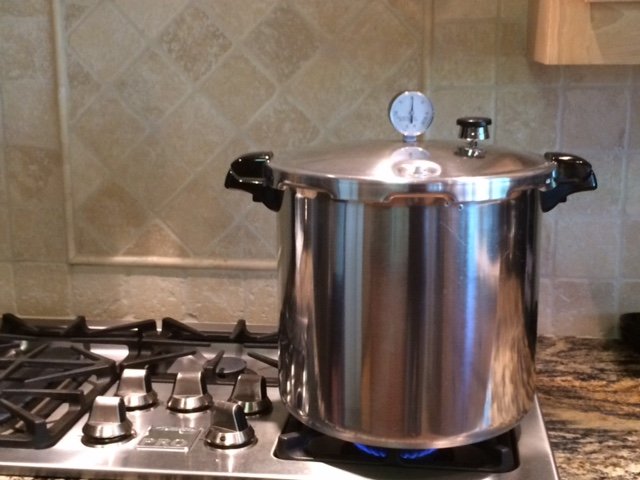 At the end of a couple of hours of wonderful company and conversation and a bit of vino, she had canned green beans and I had more experience and comfort with canning.
 On top of the lesson, she generously shared 2 quarts of the newly canned beans as well as some of their fresh garden bounty. I thanked her by graciously inviting myself to an upcoming tomato canning :)